- Create a backup profile with the below permissions:
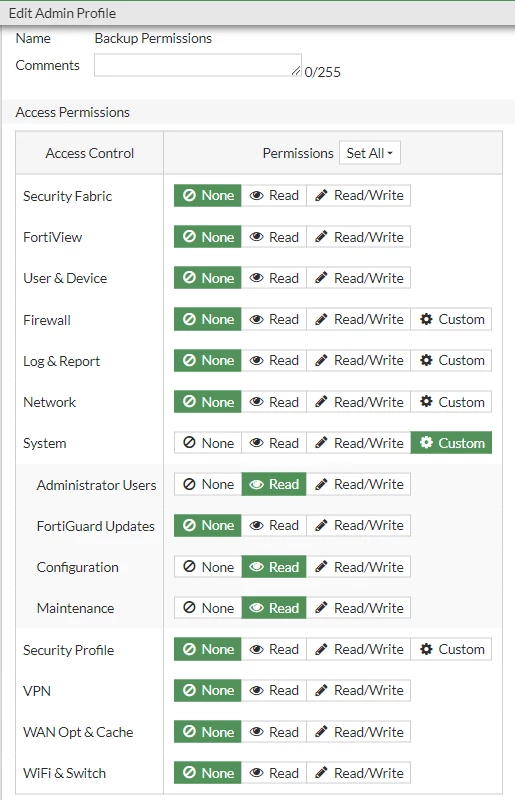
2. Create a RestAPI user:
Technical Tip: How to create a REST API Admin user... In the end, make this user member of the above admin profiles (In this example: 'Backup Permissions'). 3. After setting up a user with proper permissions, create a PowerShell script: On a notepad copy and paste the below text, but replace bold values with the setup values.
##### Fortigate Variables #####
$FGFQDN = "192.168.1.99" # # Fortigate IP Address
$Hostname ="hostname"
$Port = "443"
$API_Key = "84z......"
$SavePath = "C:\backups" # Where backup files will be Stored
$APIUrl = "https://$FGFQDN`:$Port/api/v2/monitor/system/config/backup?scope=global&access_token=$API_Key" #If you have problems with certificate trust / or Self Signed Certificate is used Set to True
#Otherwise ignore below sections related to certcheck
$IgnoreCertCheck = $true
################# if ($IgnoreCertCheck){
add-type @"
using System.Net;
using System.Security.Cryptography.X509Certificates;
public class TrustAllCertsPolicy : ICertificatePolicy {
public bool CheckValidationResult(
ServicePoint srvPoint, X509Certificate certificate,
WebRequest request, int certificateProblem) {
return true;
}
}
"@
[System.Net.ServicePointManager]::CertificatePolicy = New-Object TrustAllCertsPolicy
} clear-host Try{
$Response = Invoke-RestMethod -Method Get -Uri $APIUrl -ContentType "application/json" -Timeoutsec 90
# If ($Response.Length -gt 10){
Write-host -foregroundcolor green "Backup Config Successfully Downloaded"
$d = (((get-date).ToString("yyyyMMdd_HHmmss")))
$Response | Out-file "$SavePath\$Hostname`_$d.conf"
}
}
Catch{
write-error "
! Fortigate Backup Failed ! $error[0]"
} Save this file with the extension .ps1. 4. From a Powershell window, it is possible to run it and get the backup: 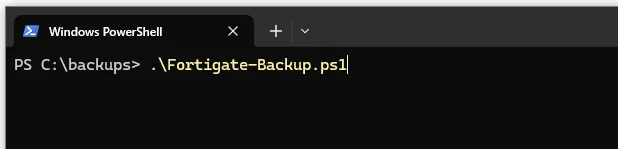
|