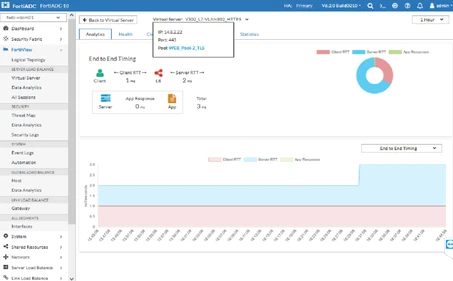
Step 1.
Disable WAF security on the configuration of the Virtual Server.
Disable TLS-1.3 from ‘Client SSL Profile’ and ‘Real Server SSL Profile’. Step 2.
Prepare the next debug by filtering the name of the Virtual Server.
diagnose debug module httproxy set-filter vsname=<VirtualServer_name>

diagnose debug module httproxy ssl_ae_info

diagnose debug module ssl-of-httproxy all set

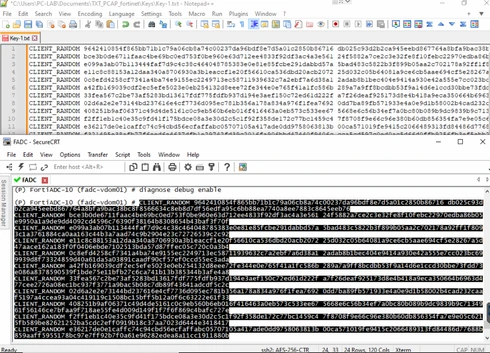
diagnose debug enable
Suggestion:
It is possible to filter the public Client IP-address on the FrontEnd capture and the private RealServer IP-addresses in the BackEnd capture using the command below:
diagnose debug module httproxy set-filter srcip=<Test Client's IP address>
For example:
diagnose debug module httproxy set-filter srcip=10.10.10.10
Step 3.
Prepare the packet capture in GUI filtering the FrontEnd interface (e.g., WAN interface) and BackEnd interface (e.g., LAN interface), as well as selecting maximum packet count at least to 10000. 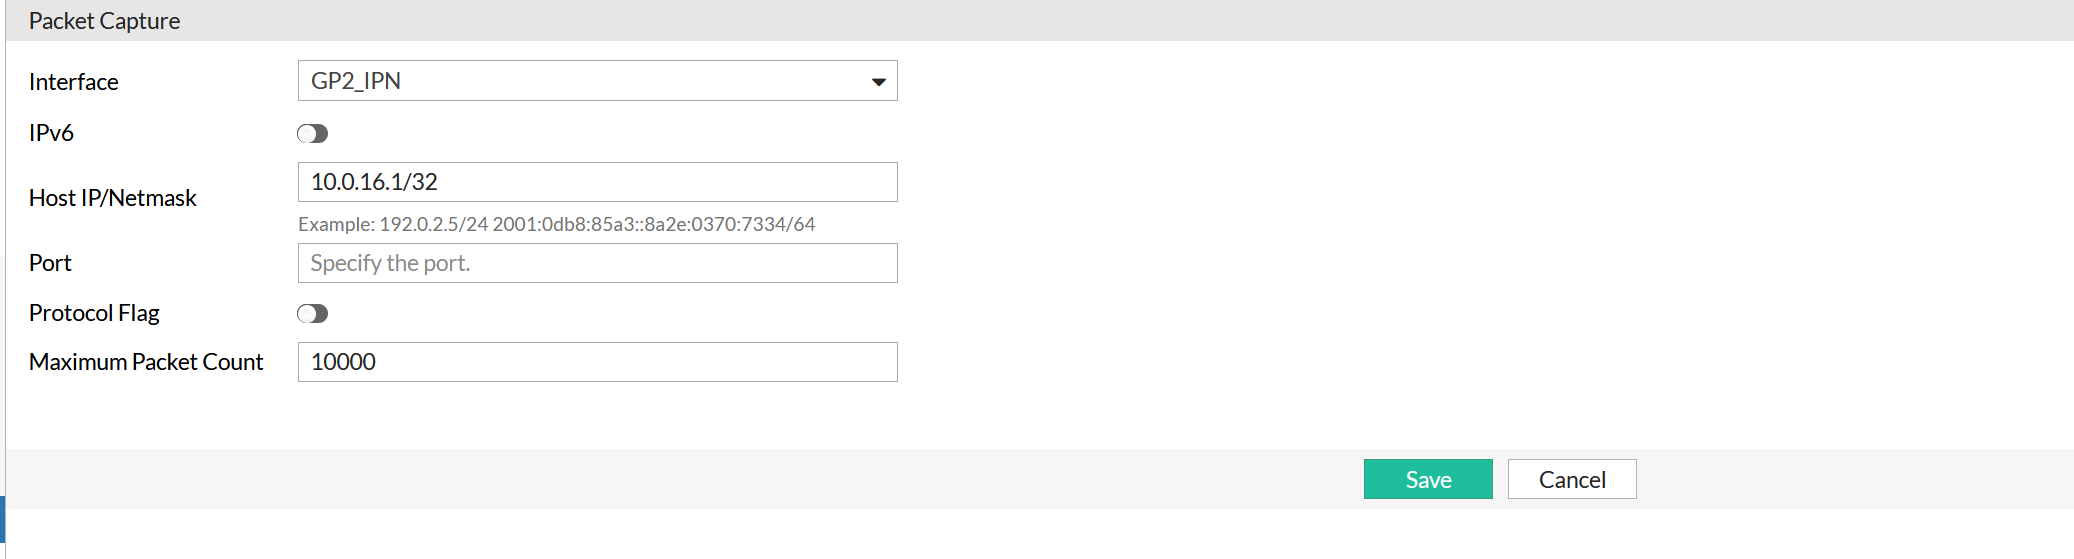 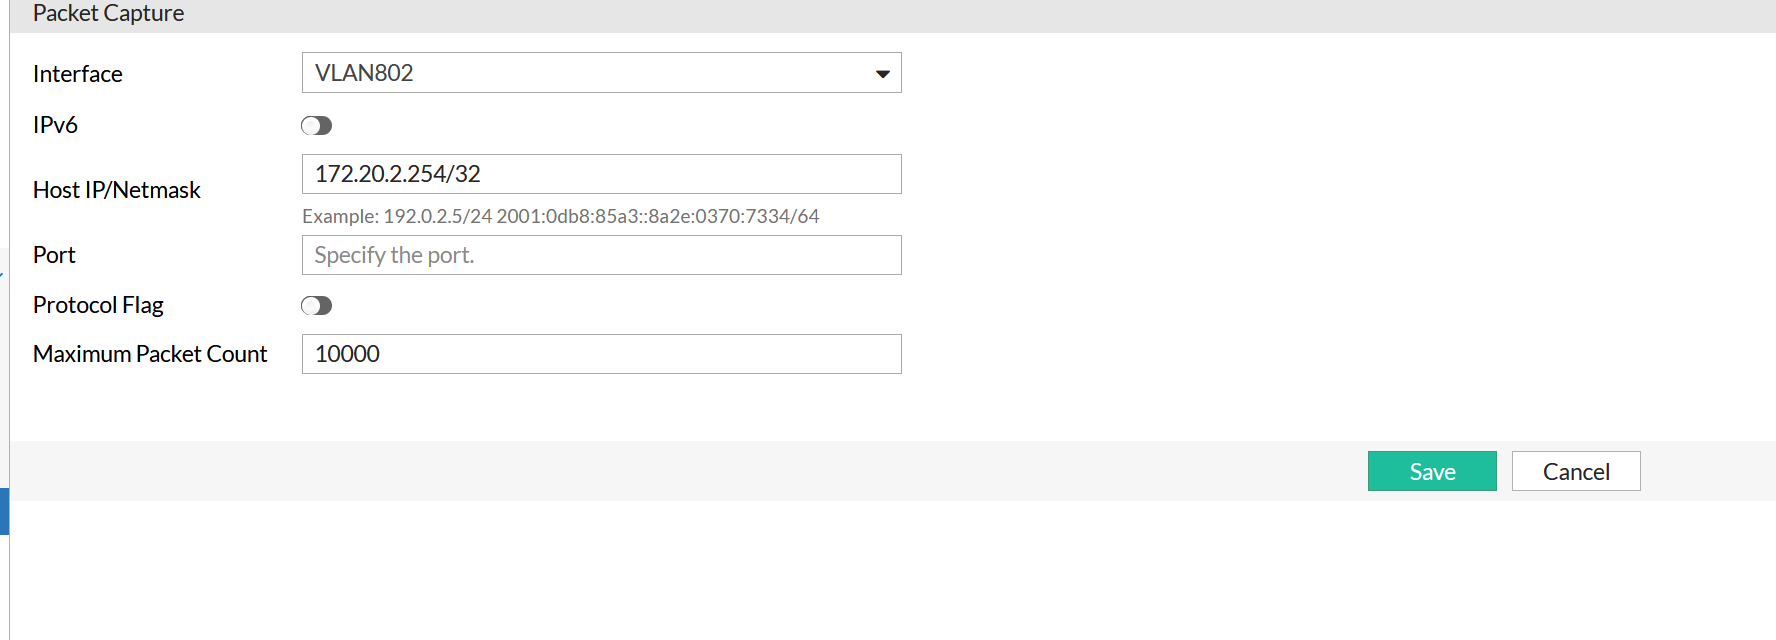
Enable the Packet Captures.
 Step 4. From the Client, get access to the Virtual Server.
Suggestion: Attempt approximately 3 more connections to get more samples. The CLI of FortiADC will start to output a string of characters.
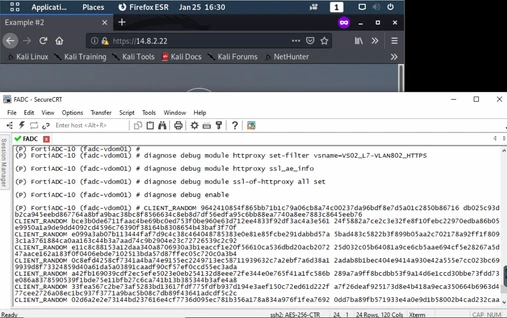 Step 5. Stop the packet capture and download them.
 
Copy and paste the output of strings from CLI that start from ‘CLIENT_RANDOM’ into a TXT file, and save the file (e.g., Keys.txt).
Step 6.
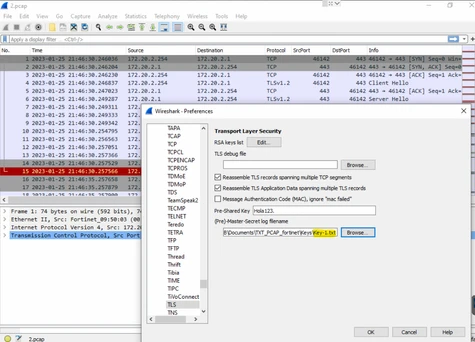
Open the packet capture with Wireshark. From Wireshark, go to Edit -> Preferences. It will open the Wireshark Preferences. From these preferences, select Protocol and search TLS. From TLS preference, under '(Pre)-Master-Secret log filename', browse the Keys.txt file. Select ‘OK'.
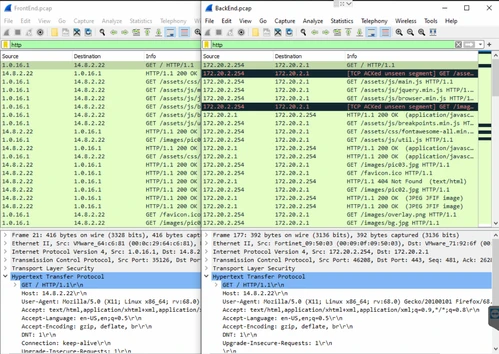
Traffic will be decrypted.
 |