Technical Tip: Basic deep SSL inspection configuration
Description
This article describes how to implement Deep SSL inspection in the networks.
HTTPS traffic is a secured traffic between the users and the websites. Only requested users are able to see the content on the website.
Scope
FortiGate.
Solution
Example:
- In a real-life scenario:
A person sends a parcel to another person. The parcel is secured and only both of them can know the contents. The person delivering the package only knows that these people are communicating together, and does not know the contents of the parcel.
- In an HTTPS scenario:
A person opens www.facebook.com. FortiGate will only know that this person is opening www.facebook.com. FortiGate will not know what features the person is using on www.facebook.com.
In the scenario above, both the delivery professional and FortiGate need to perform inspection to obtain full visibility on the packets or traffic passing through the FortiGate.
Once the delivery professional has visibility of the items, it is possible to intercept dangerous or illegal items but still send permissible items.
Once FortiGate has visibility on the traffic passing between the user and www.facebook.com, FortiGate can block certain features on the Facebook accurately.
Scenario:
The user wants to perform deep inspection for segment 192.168.1.0/24 only, and will use default security profiles.
Recommended solution:
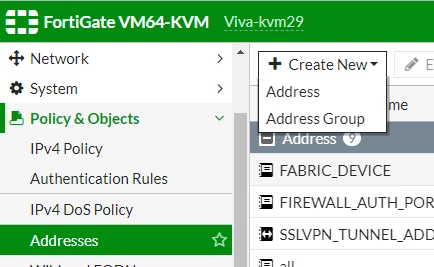
Create an Address Object:
Go to Policy & Objects -> Addresses.
Select 'Create New' and 'Address'.
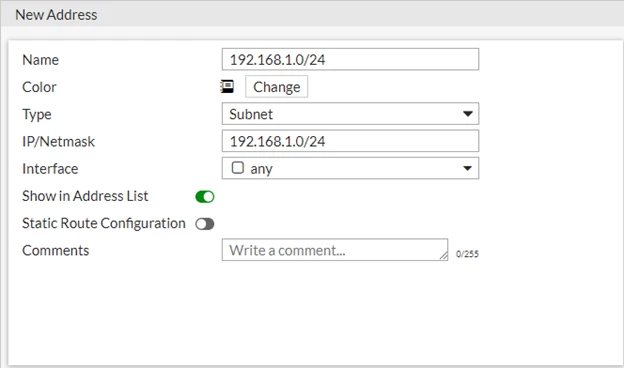
edit "192.168.1.0/24"
set subnet 192.168.1.0 255.255.255.0
next
end
Select the 'Create New' button.
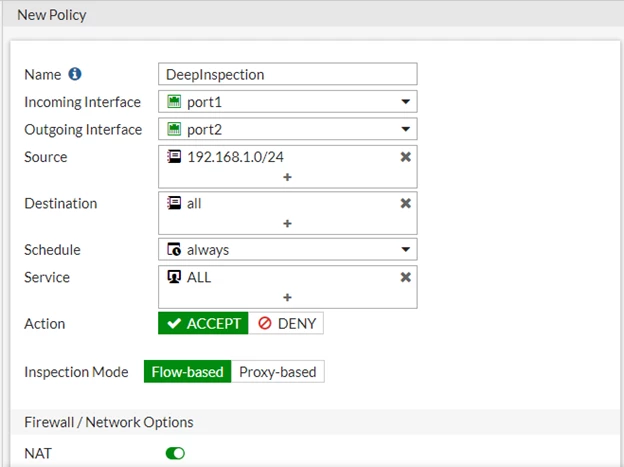
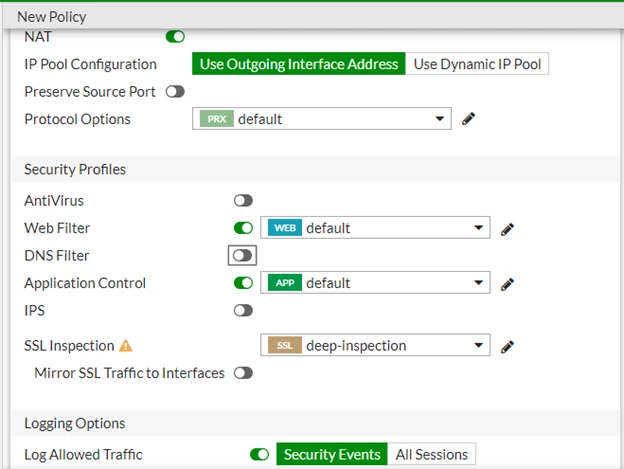
Move the 'DeepInspection' policy to the top.
edit 5
set name "DeepInspection"
set srcintf "port1"
set dstintf "port2"
set action accept
set srcaddr "192.168.1.0/24"
set dstaddr "all"
set schedule "always"
set service "ALL"
set utm-status enable
set ssl-ssh-profile "deep-inspection"
set webfilter-profile "default"
set application-list "default"
set nat enable
next
end
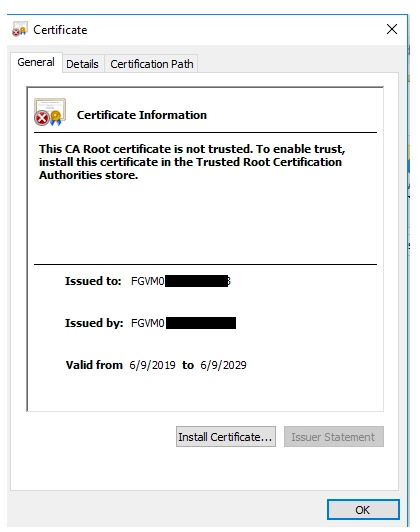
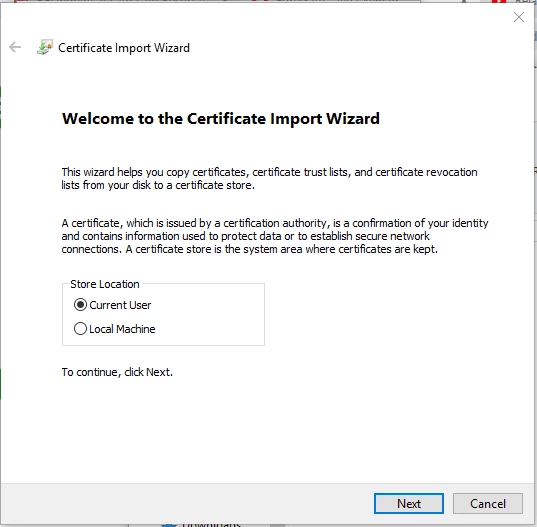
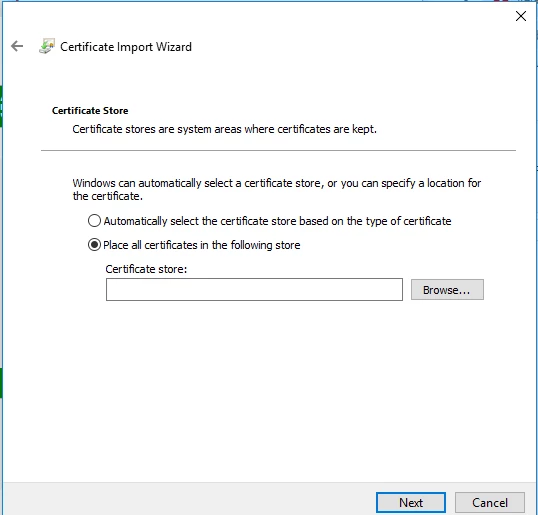
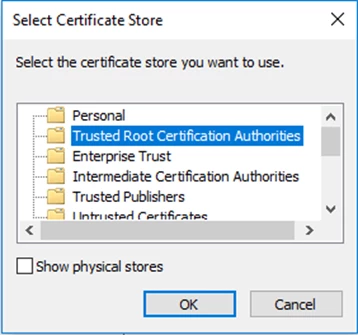
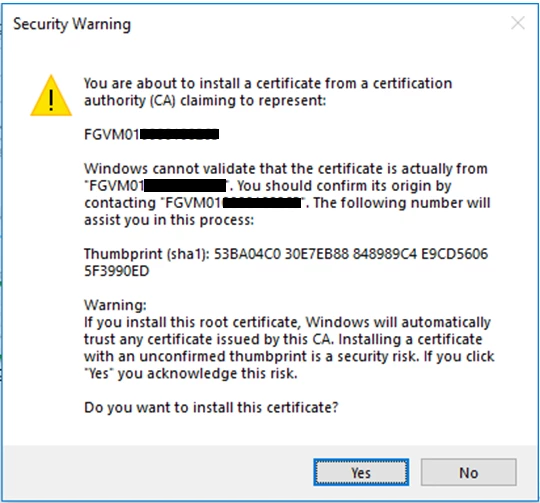
Import the certificate to the PC:
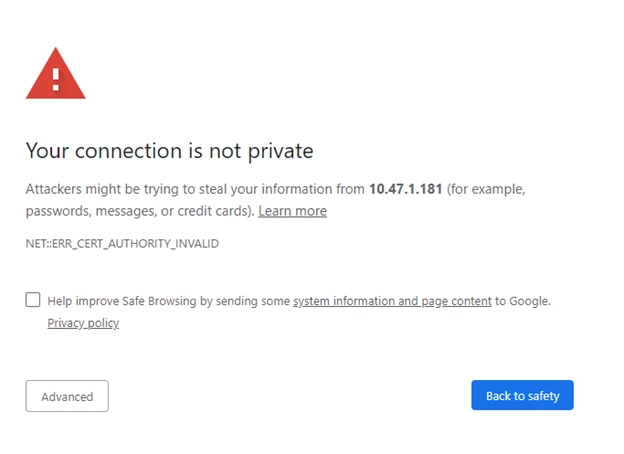
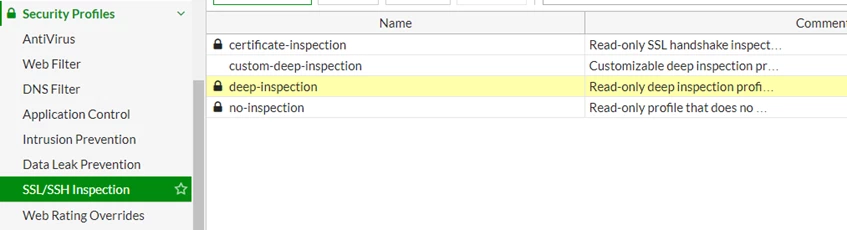
Go to Security Profiles -> SSL/SSH Inspection.
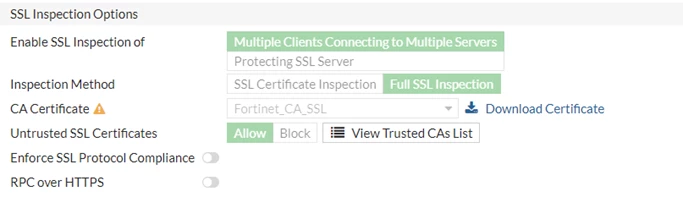
Edit the 'deep-inspection' profile.